Overview
The purpose of this tool is to centralise reconciling and verifying of any accounts, that are not bank accounts.
Think of it as a way to review and reconcile any accounts, in the same way that you would reconcile and verify all accounts within your Trial Balance or Balance Sheet.
It allows reconciliation of any account within a Xero file without the need to export data or review externally to the ledger. This is particularly valuable for balance sheet accounts that have a point in time clearing balance. To complete this activity in another tool in an efficient manner quite often requires printing or exporting data out and matching balances period to period.
The Account Reconciler also allows for up-to-date planning to be performed on a set of accounts due to the ongoing reconciliation of accounts at any preferred reconciliation frequency right down to the account level.
Note that this only works where you've connected a client to a cloud accounting package (like Xero), within AccountKit.
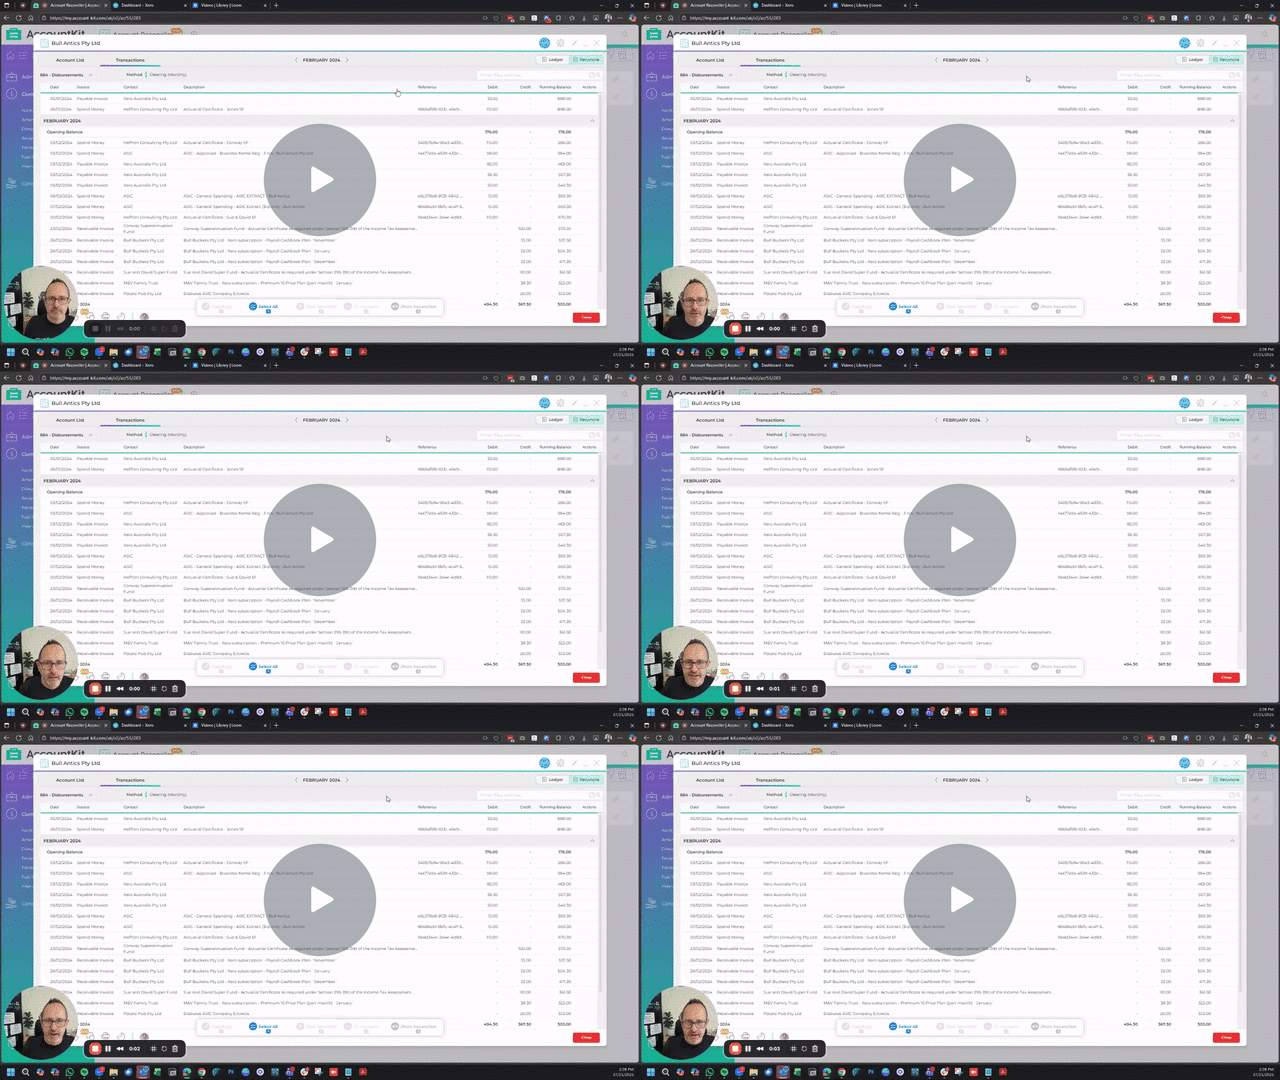
Being a brand new tool fresh into BETA, make sure you watch this video to get a leg up on how to get the most from the outset. In principle it's simple, but like any new tool, there are nuances to understand before you get underway. It'll become second nature in no time!
To set some expectations on what Open Beta means::
- The tool is feature complete (for now) and available to all.
- There may be some bugs still (although it's feeling rock solid).
- If you have any feedback, email us at support@account-kit.com
Jump straight to the applicable section:
- The Account Reconciler list page
- General variables & input fields
-
Before you start...
- Practice settings - no steps currently required
- Prepare the entities you plan to reconcile
- How to create an Account Reconciliation schedule
- Day to day use
- Other functions & options
The List Page
| Area | Description | |
|---|---|---|
1 |
Add new Schedule |
Select this Noting you can only have one set of reconciliations per entity. |
2 |
Quick search |
Use this to quickly filter your list and search for a specific entity. |
3 |
Filter by, View Select, Three-dot menu (More Actions) - soon to come |
These are part of Shared Elements across AccountKit. Use these to:
|
4 |
The list... |
This is a snapshot of all current Account Reconciler Schedules (per entity) running within your practice and their current status.
|
5 |
Link documents Three-dot Menu (More Actions) |
Link to a file or folder within your DMS, and to add a link to a web address. Click on the link icon a new action window will pop up, follow the prompts to add new document links. The small number on the corner of a link icon indicates how many documents (if any) are currently linked to that particular schedule. Click on it to view and action all existing documents. Three-dot Menu (More Actions) - appears on mouseover at the end of the row. Use it to Edit, Archive or Delete a schedule.
|
General Variables & Input Fields
The Setup & Edit Area
| Variable Name | Description | |
|---|---|---|
1 |
Client Details |
This area appears upon setup and when you select the above "Edit Schedule" option in the Three-dot Actions menu:
|
2 |
Frequency | This is the default frequency of reconciliation for any accounts, which can be changed on a per account basis. |
3 |
Last reconciled period | The last completed period that we're checking the verified status of. |
4 |
Instructions | Always here for reference. |
The Account List Tab
Click on the row that corresponds to the entity that you'd like to work on, to open it.
A new window will pop up, with the Account list tab being the default opening view.
The account list tab shows a summary of all the accounts that you're reconciling for this client, along with their status, comments and linked verifications. This is great to get a grasp on what accounts may still need to be reviewed during any given period.
| Area | Description | |
|---|---|---|
1 |
Company Name |
This identifies the current company name that the schedule belongs to. |
2 |
Account List |
This is the list of accounts you're reconciling.
|
3 |
Connection with Xero, Settings, Full Screen, Minimise, Close |
|
4 |
View range |
Move between different date ranges using the arrows, or by clicking on the date to change months and years.
|
5 |
The Account List |
|
6 |
Add to workflow, linked documents, tags, collaboration, audit history |
Shared toolbar - We go into more detail here in Shared Elements. Note: The shared toolbar is associated with the area you are in. So if you link a workflow item for example whilst on the account list view verses when you are in an account page, the link is relative to that specific area. |
The Transactions Tab
This tab contains the detail transactions for the account selected and the work space for reconciling each account. You can switch between accounts without returning to the Account List tab.
| Area | Description | |
|---|---|---|
1 |
Company Name |
This identifies the current company name that the schedule belongs to. |
2 |
Transactions |
To open the list of transactions for each account, click on an account, or click on Transactions tab. Switch between accounts by using the drop-down list right under "Account List" |
3 |
Connection with Xero, Settings, Full Screen, Minimise, Close |
|
4 |
Date range |
Move between different months and years using the arrows, or by clicking on the date to jump straight to another month/year. |
5 |
The Transaction List... Ledger View and Reconcile View |
Ledger View - In essence, this is the general ledger. Includes Opening Balance, Total (for each period) and Closing Balance. The view can be grouped by month, quarter, year or financial year. Reconcile View - List of all transactions that are yet to be reconciled, followed by the summary for that period, including Opening Balance, Total (for each period) and Closing Balance. Verification Details - enter a short note to accompany the verification. Verified Balance - displays the value to be verified. Users can then post journals and adjustment entries, and add links to documents, folders and web addresses. |
6 |
Add to workflow, linked documents, tags, collaboration, audit history | These are part of Shared Elements. |
| 7 | Actions bar |
The action bar is where it all happens. Note the letters in the [ ] brackets, these are the short cuts if you want to be a power user.
|
| 8 | Notes |
For carry forward values (or any transactions at all), you can leave a note. This is great to review and confirm why values may be carrying forward. You can choose to show (or not) all the existing notes for each transaction, which will be displayed in the Description column.
Change this under Settings (top right corner):
|
Before you Start
The only thing to do in preparation for your Reconciliations is to ensure you have your client's Accounting Software (e.g. Xero) connected with AccountKit.
To do that, go to the applicable client or client list page and find the Integrations section, then click on the integration icon to trigger a process to connect and download the client data into AccountKit.
The syncing process will only be completed once the icon goes from greyscale to full colour.
Until this process has finished, you won't be able to initiate the reconciliation for that client - you will be notified once complete.
See here for more details about connecting and disconnecting from Xero.
Practice Settings
There's currently no steps required to be completed in Practice Settings for this tool.
Prepare the entities you plan to reconcile
In the Account Reconciliation tool, click on the + sign to start setting up a Client's set of reconciliations - noting that you can only have one set of reconciliations per entity, so you'll only need to do this first step once per client.
On the pop-up, select the client name from the drop-down - remember that the client must be connected to your accounting software (e.g. Xero), as per previous step.
Define the default frequency of reconciliation and select the last reconciled period - these can be changed after setup, on an account by account basis.
ADD these:
- screenshot of client selected, and green button to click on (Create)
- next step: establishing the balance.
How to setup your first account for reconciling
Let's go through the steps of how to create and set up your first account ready for reconciling.
Initial setup - defaults, start date, frequency, establishing balance.
We've prepared a short video to easily demonstrate how to set up the account ready for reconciliation, followed by screenshots and detailed steps, for quick reference.
Adding / removing accounts
In Account List > Accounts, click on the cog wheel to Select (and unselect) accounts from your Account list.
A new window will pop up: on "Selected accounts" (left-hand size column), you'll see the accounts you're currently choosing to reconcile.
These will be populated from "Account list" (right-hand size column), as you switch the toggles on and off (last column in the list). Scroll up and down for the full list accounts.
Click on the Refresh icon to update your Account list, and use the search bar to quickly filter a specific account or key word.
Editing settings
From the list of selected accounts (left), mouseover any account and click on the Edit icon to change Frequency, Last reconciled period and Reconciliation Method, for that account in specific.
You're ready to reconcile each account once you adjust these details.
Day to day use
This is where the bulk of the action will happen, where we're matching off transactions to get to a point where we can confidently confirm that the carry forward balance for any period is accurate. Note that his is only relevant to the Clearing Method.
Establishing Opening Balances
Your first step is to identify the transactions that contribute to the opening balance to give us a list of uncleared entries as at the conversion date.
Clearing Method
- From the Account List view, select either the account you would like to work on.
- You will then be prompted to select all of the transactions from prior to the Last Reconciled date that add up to the opening balance. (NOTE: You may need to extend the date range to be able to see all of the transactions required to establish the opening balances, as they may date back many months or longer.)
- As you select entries, the value and difference will update at the bottom of the page.
- Once the total transactions selected match the opening balance, you will be prompted to press Continue.
- You've now established the opening balance entries and are ready to start reconciling.
Balance Method
The method here varies, as the assumption is because you've selected a last verified period, the balance as at the start date is correct. Because we're not looking for transactions to clear, we're just confirming that you are confident that the account is in fact correct at the start date.
- From the Account List view, select either the account you would like to work on.
- On the assumption that your balance at the conversion date is correct, you simply need to press Continue to verify your start point.
We are now good to start reconciling.
Reconciling & Transaction Review
This is where we dive into the detail of the transactions to ensure they're correct before verifying the balances.
Clearing Method
Here we're looking for values that match the debits and credits to "clear" them from the account. Any values left over have not yet cleared and form part of the unreconciled values for that period.
- Select transactions from the debit and credit side that match, until the net balance in the toolbar returns to Xero.
- Press the reconcile button.
- Repeat the process until you are down to a reduced list that either form the closing balance or that need further investigation.
- Carry out any required fixes such as the following, remembering to refresh the data from Xero here any time a change is made to update the transactions here. (Note: if you can't complete the process due to some queries, you can leave a note in the verify area any time to keep a full audit trail of notes against the reconciliation period)
- Finding missing transactions in Xero that should be there
- Re-allocate transactions that should not be in this account.
- Click through to the transaction in Xero to fix a tax code applied,
- Post an adjusting journal from here (see below)
- Once you're happy that the balance is accurate, select the blue exclamation icon to copy the balance into the verified balance field and tick it off as verified.
i |
Power User Hint: Utilise the keyboard shortcuts to reconcile like a pro.
|
Balance Method
Once again, the method here varies as we're typically just verifying the balance against a source document such as an equipment finance schedule. So all we're doing here is checking for transactions that potentially don't below before then carrying out the verification process.
The process here is the same EXCEPT that you are not looking to match off transactions, only to confirm there isn't any incorrect entries and that the balance is correct.
Closing out the period
Now that you're feeling confident that the balances are correct, it's time to carry out the final steps to close out the period.
- Utilise the link icon to link the balance to an underlying document within the document management system and / or a web address (eg. back to an equipment finance schedule URL). Given there are two places to link to an account, best practice is as follows.
- Verification area - Here you link to a specific document for that particular period.
- Shared toolbar - The link here can be any other supporting document that's specific to that account, irrespective of the period. For example, the URL or PDF that is relevant to an equipment finance schedule that's being verified. See here for more detail on linking in AccountKit.
- Optionally you can leave a comment for further context to the verified balance.
- Now you can export a reconciliation report for the period to Excel or PDF and save locally or to the connected document management system.
<video to be inserted>
Other Functions & Options
To be completed - add detail and link to applicable areas above.
Comments
To come
Journals
To come
Exporting reports
To come
Managing changed data
Updating establishing balances
To come
Related Links
| Menus & Shared Elements | This support article covers all the menus and shared elements used throughout AccountKit |
| Document Management System (DMS) | Learn how to connect and manage your DMS |
| Xero Connection | Head here to understand how the Xero Connection is setup and associated statuses along with troubleshooting issues such as locked periods. |
Comments
0 comments
Article is closed for comments.